How soon the recipient will spend the cards, or how long the display will stay up, decides which of these ideas fits, from the pinboard to the framed collage.
A greeting card with a pocket costs almost nothing and goes straight into a purse, while a framed collage or shadow box takes more effort and only works if you fix the cards with removable adhesive.
A pinboard sits in the middle: the cards come off at the register, and the board still looks good on a desk or wall afterward.
The range runs from a single card tucked inside a greeting card to a framed collage of several cards behind glass.
1. Gift Card Picture Frame
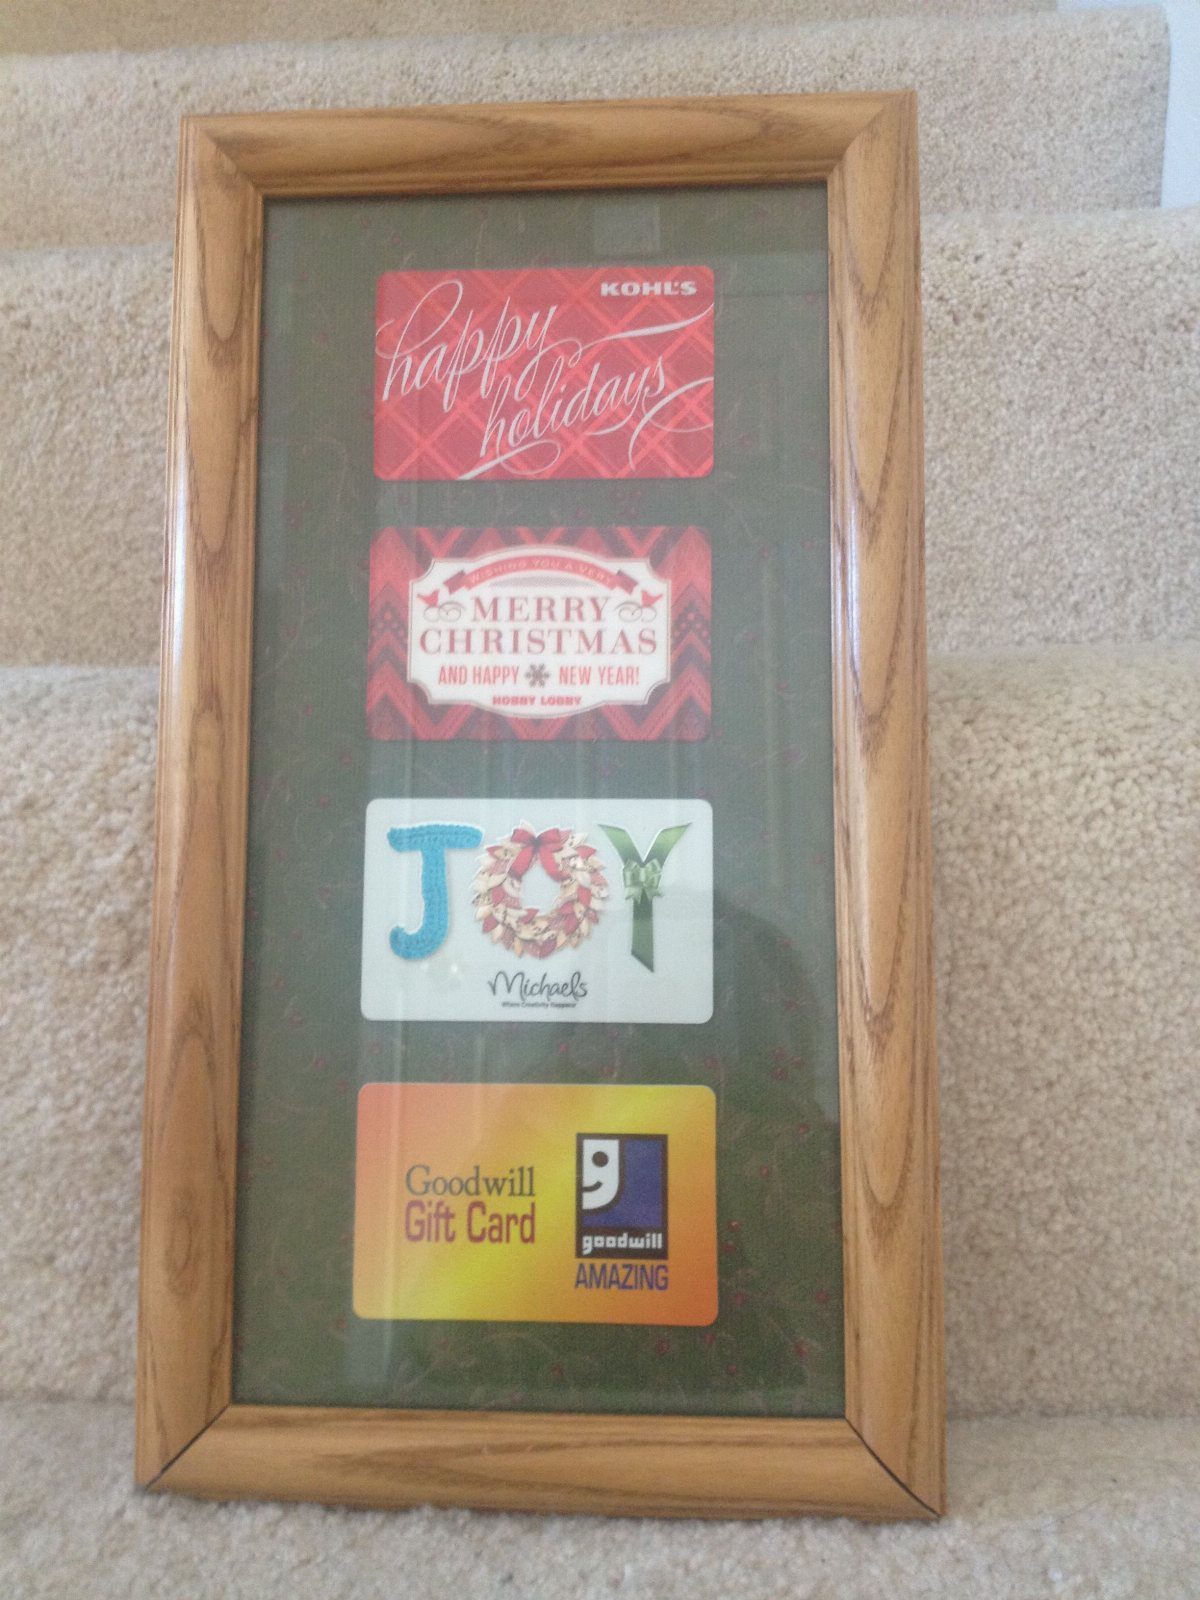
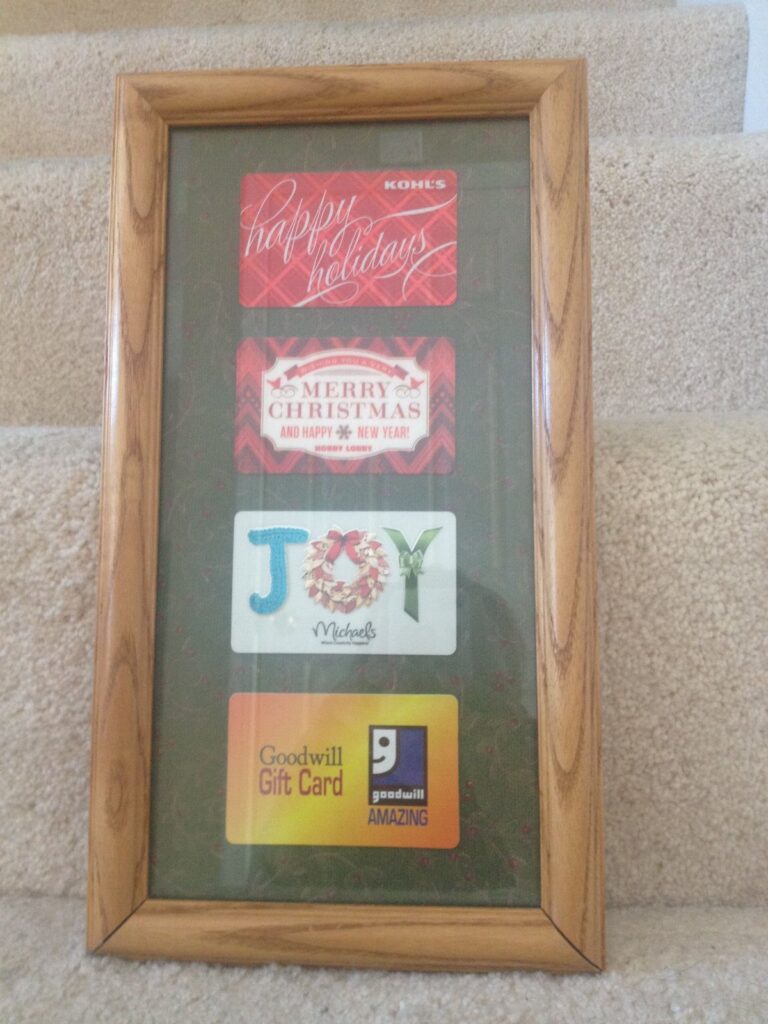
A plain wooden frame turns 4 gift cards into something that sits on a shelf, and a light wood finish keeps the cards as the main event.
Stacking them vertically, as here, suits cards of similar size and gives a tidy column.
I like picking cards from stores the recipient already shops, since a frame like this looks like a themed set instead of a random handful.
Fix each card with small adhesive pieces so it can come out and be spent later.
2. Gift Card Pinboard
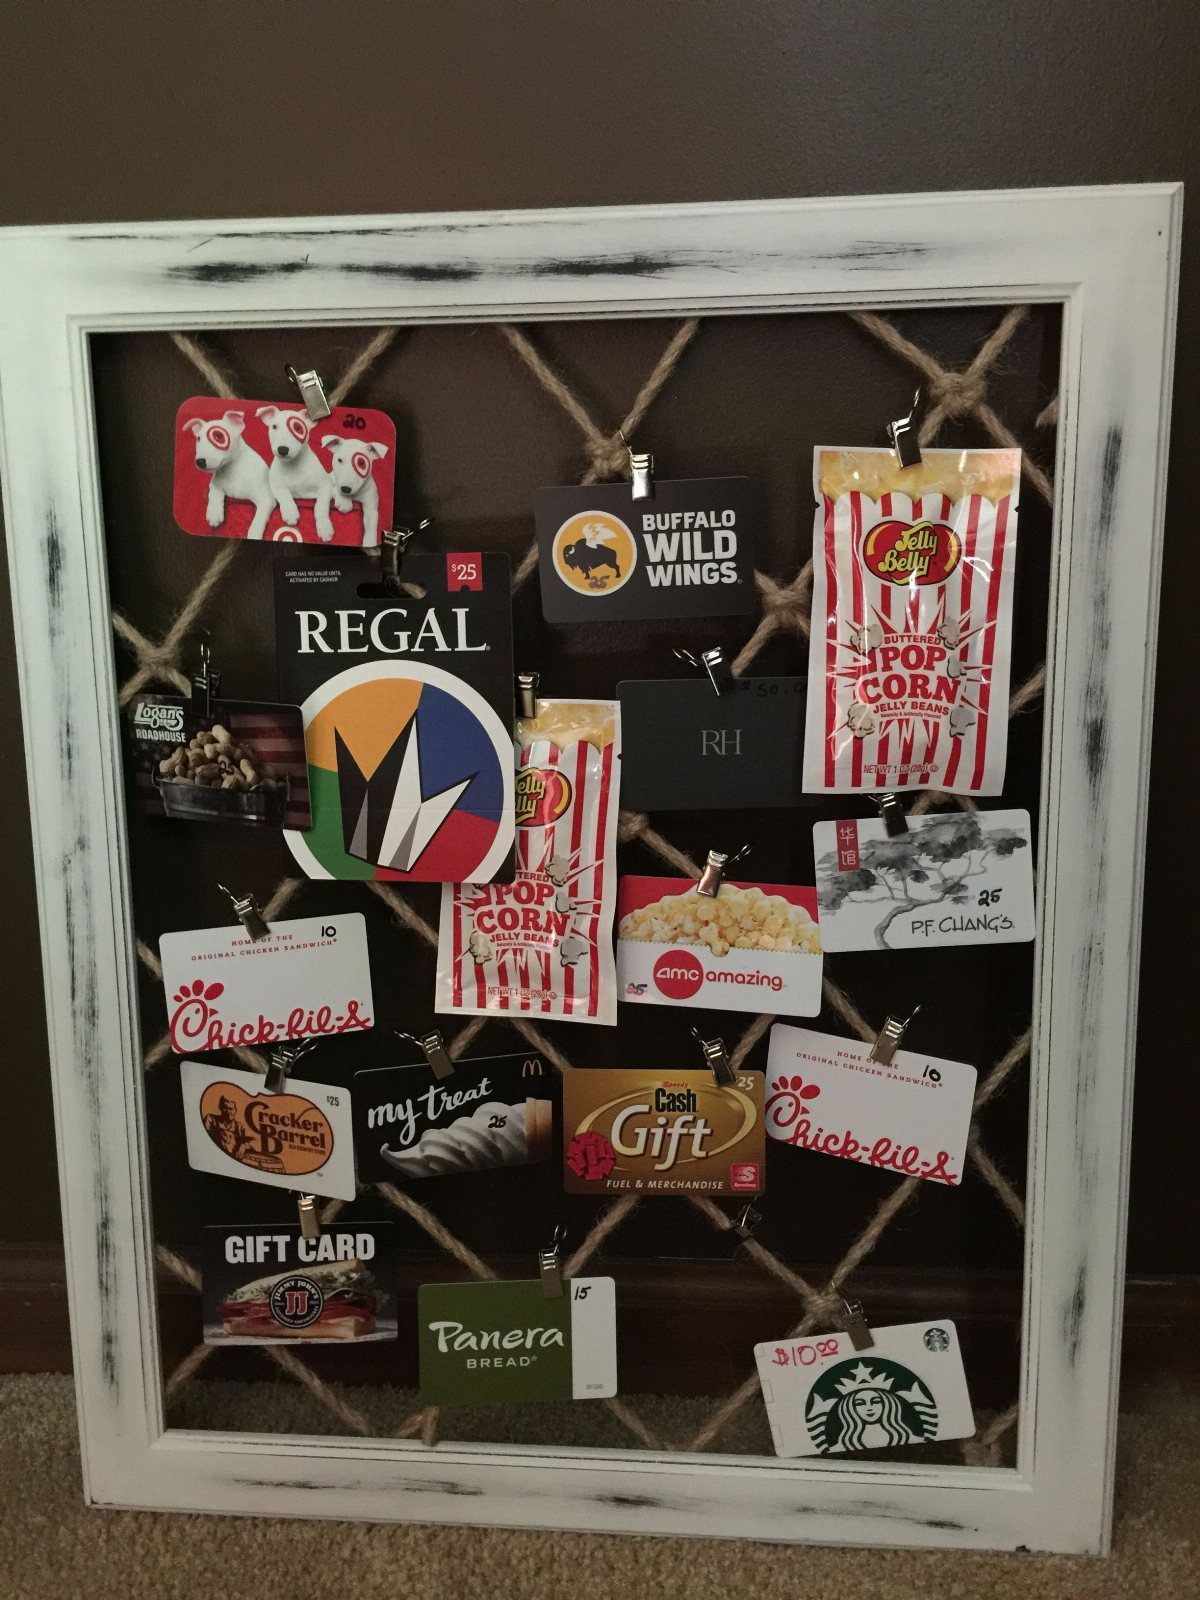
Twine stretched into a grid inside a white frame makes a pinboard that holds gift cards with small clips, so nothing gets glued or taped down.
The clips are the best part. The recipient can unclip a card at the register and leave the board looking good with the rest.
Mixing brands, like a movie theater, a coffee shop and a fast-food chain, gives one gift several small treats. Use a frame with an open back, or stretch the twine across it yourself.
3. Gift Card Arrangement
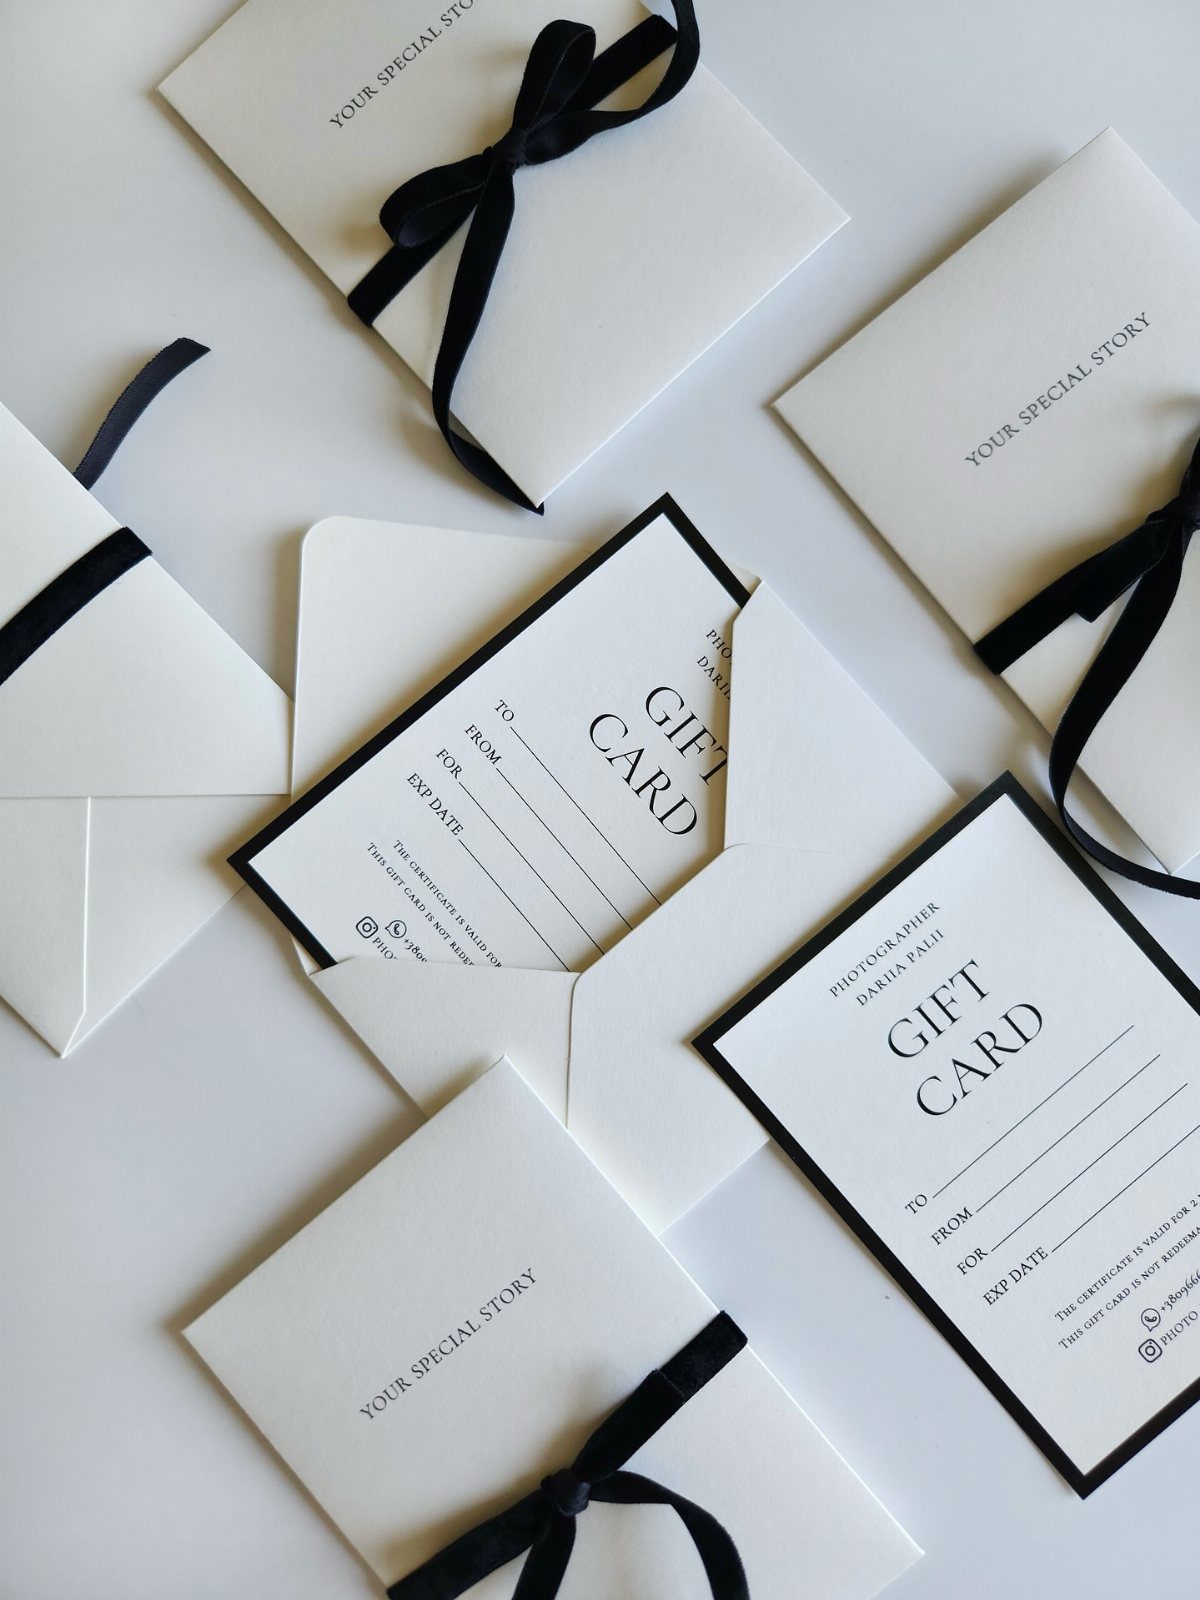
Matching envelopes in white, each tied with a black ribbon, let a group of gift cards look planned rather than tossed together. Keeping to 2 colors does most of the work.
Cut the ribbons to the same length and tie the same knot on every envelope.
Lay them in a neat overlapping row or stack them for a quick, clean presentation on a table or tray. It costs little beyond the ribbon and envelopes, and it works well when you are giving several cards at once.
4. Gift Card with Treats
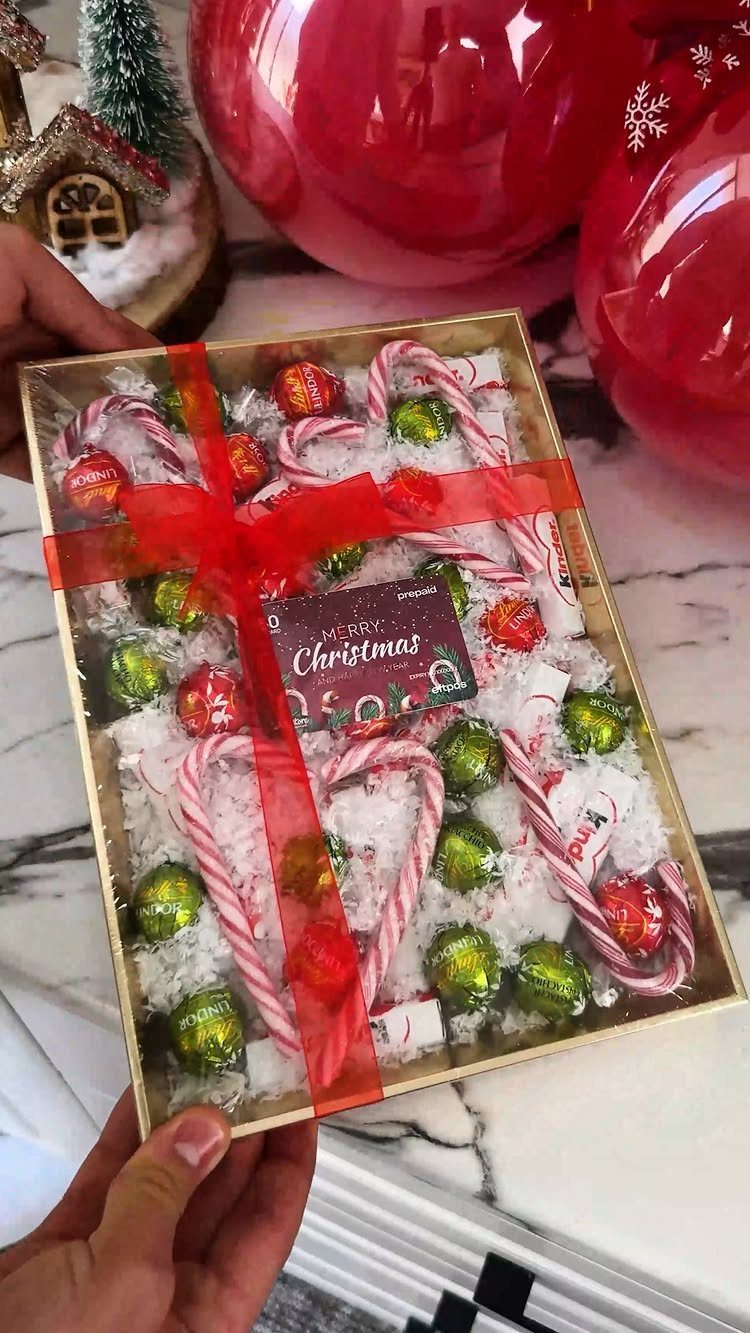
Pairing a gift card with candy turns a flat, impersonal present into a small gift box. A clear box filled with candy canes and foil-wrapped chocolates shows everything at a glance, with a red holiday card tucked on top.
Pick treats that match the occasion and the card’s color.
I would keep the candy to 2 kinds so the card stays easy to spot. Clear boxes also need no wrapping, which saves time and money.
5. Framed Gift Card Collage
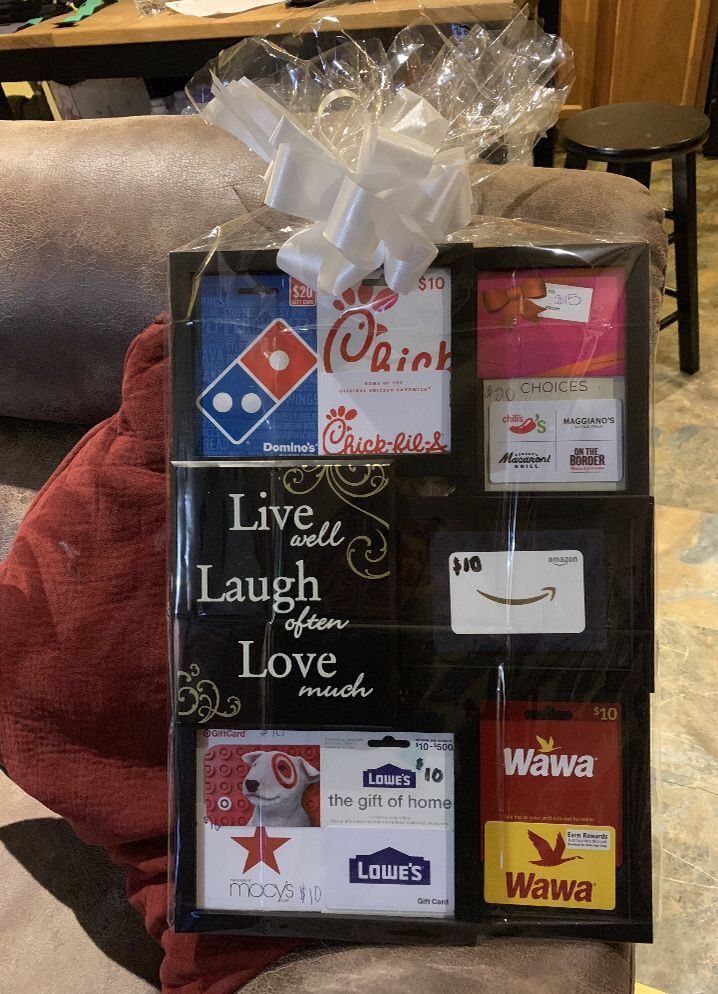
A collage works best when the cards share one theme: dinner, groceries, errands. A printed message tucked into the frame makes the collage feel written for one person, and cards from different stores fill the space well.
Wrapping the whole thing in cellophane and finishing with a white bow makes it a ready-to-give present.
Cards stay fixed in place once framed, so use removable adhesive if you want the recipient to spend them without damaging the frame. Choose a frame with enough room for every card.
6. Gift Card in a Card
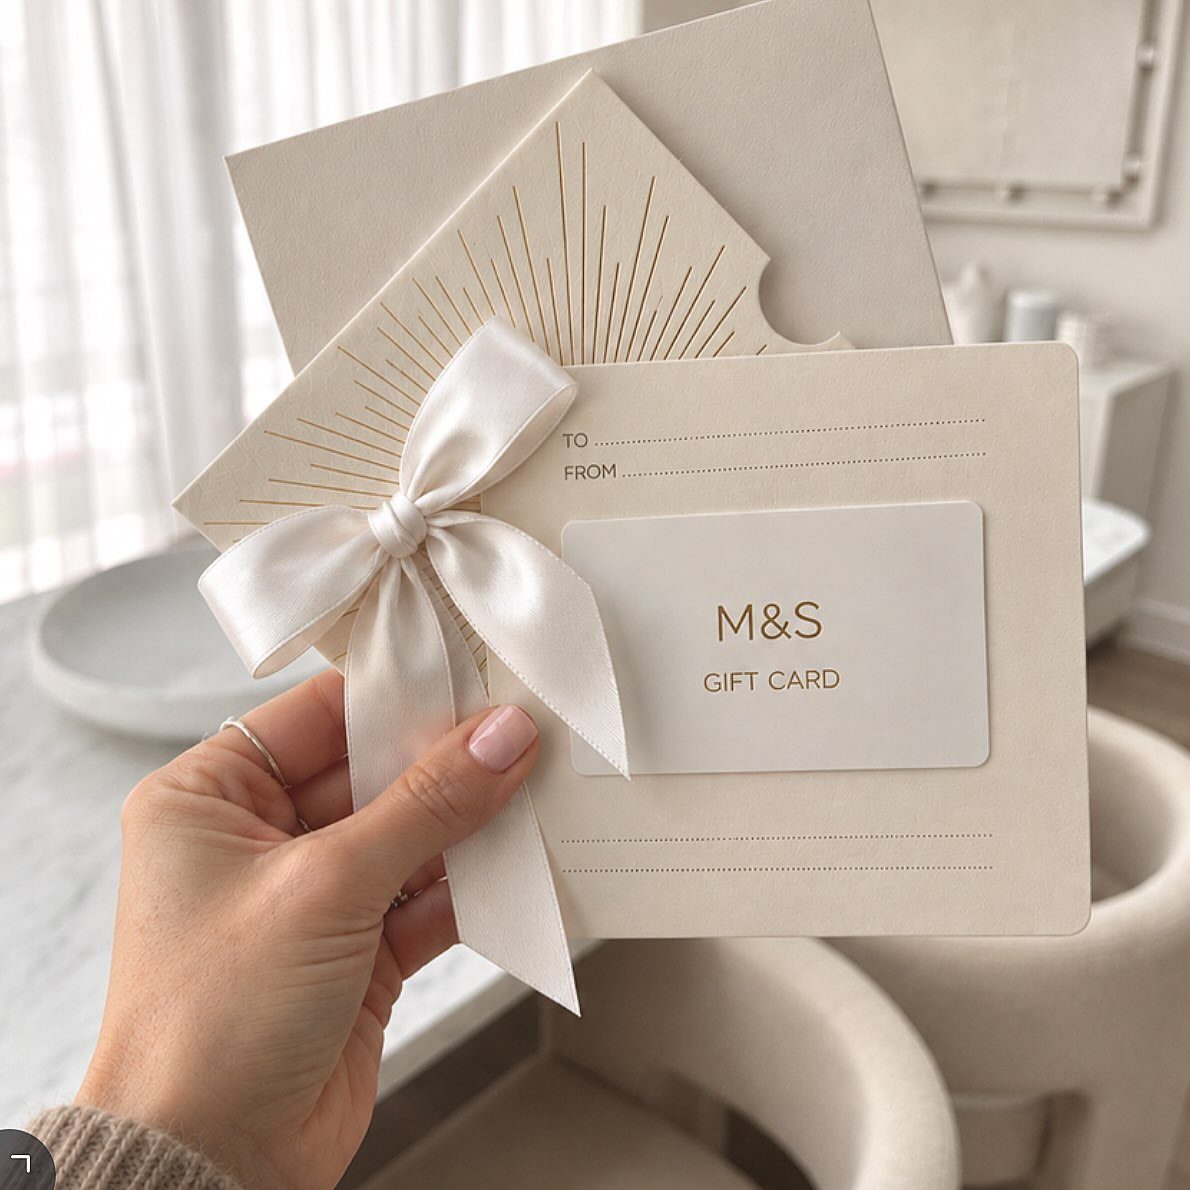
Slipping a gift card into a greeting card is still the easiest way to give one, and the simplest to do well. A white card with a satin bow looks polished enough that nothing else is needed.
Choose a card with a pocket or slit built in, or attach the gift card with a small adhesive dot.
Write a few handwritten lines inside, since that is what makes this version feel personal. It costs almost nothing, and it fits in a purse or mailbox with no trouble.
7. Gift Card with Photo
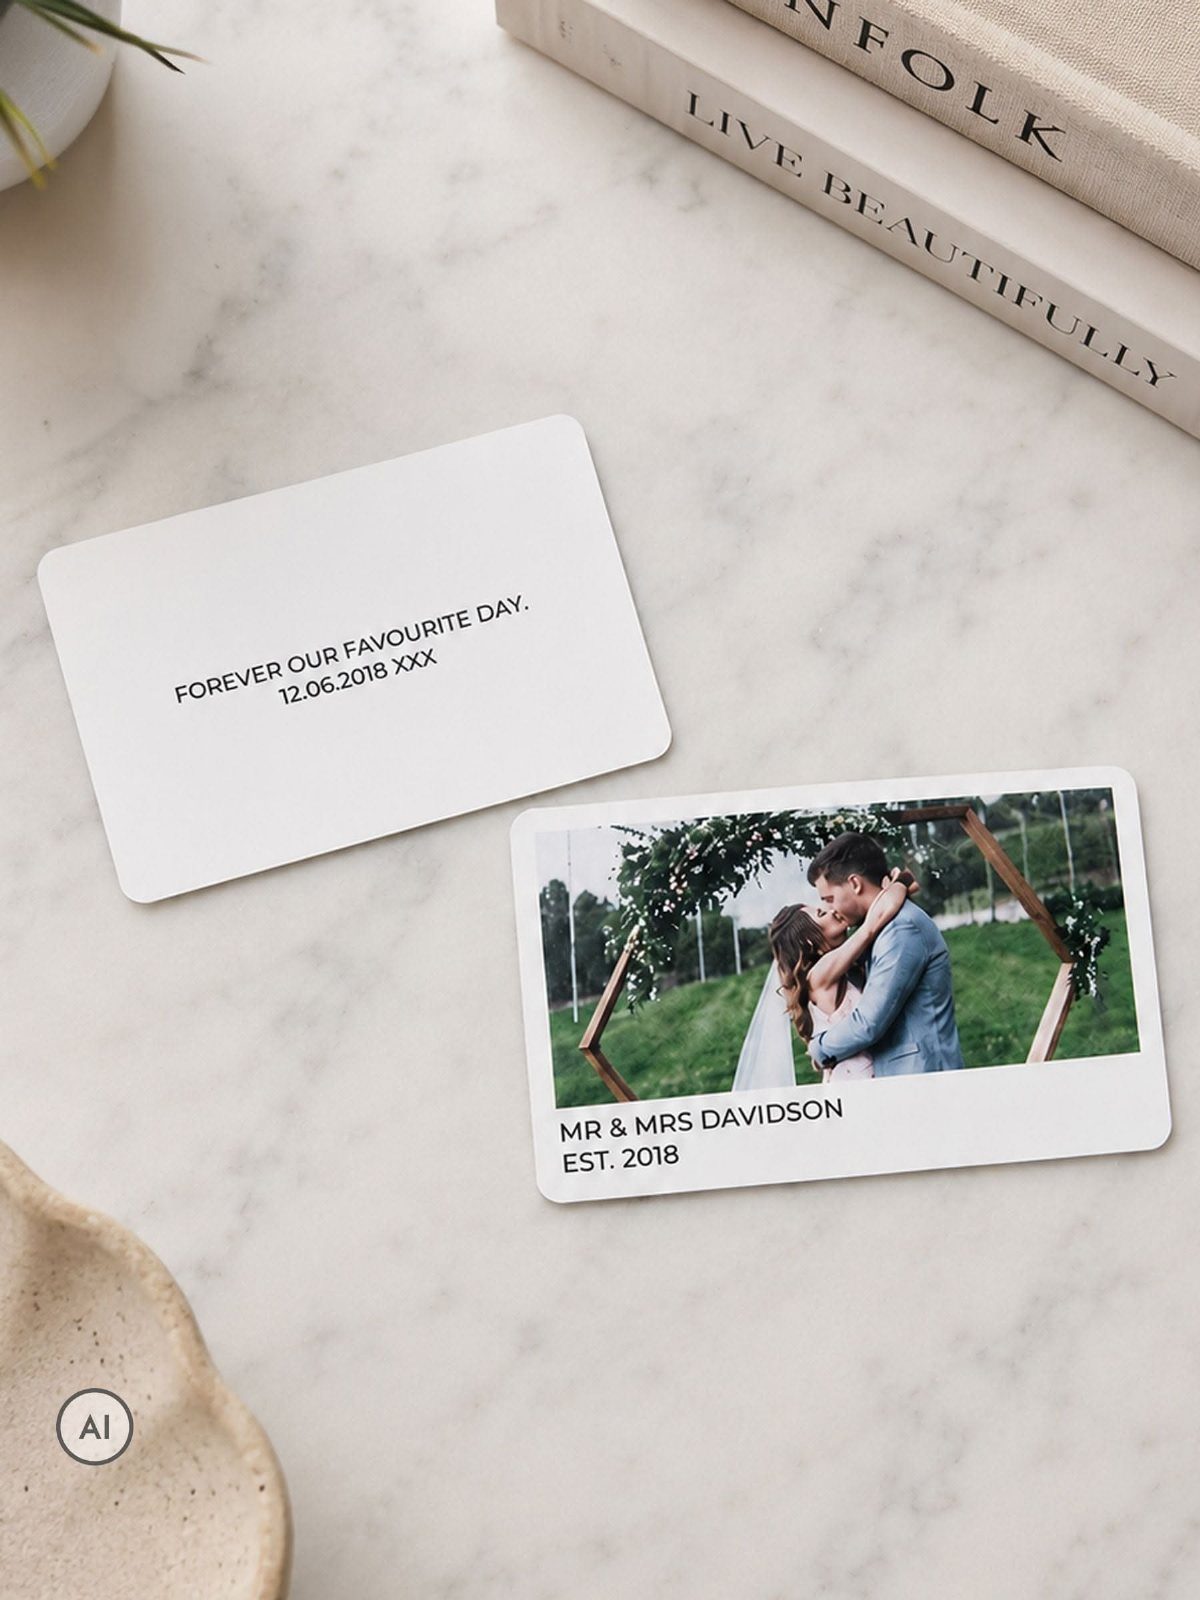
A wedding photo printed on a white card, with a short line of text beside it, gives a gift card a home that feels like it belongs to one couple. The names and the date do the personal work here.
Slip the gift card behind the photo card or tuck it inside, and let the second card carry a short message. Matching white stock keeps the 2 cards looking like a set.
I would choose a photo the recipient has not seen printed before. Sending it as an anniversary gift suits this best, since the card doubles as a keepsake long after the gift card is spent.
Creative Ways to Give Gift Cards
Shadow boxes and themed boxes give a gift card more depth than a flat frame does.
A shallow shadow box leaves room for a small item beside the card, such as a mug, a tea bag, or a pair of socks, so the card has context.
A thrift-store frame works fine for this.
One frame I would copy came from a thrift store, lined with scrap paper, and filled with four gift cards taped in place. Swapping the glass for a backing you paint or cover yourself costs very little.
A chalkboard with twine strung across it is another option.
Write a word like "MENU" at the top and clip a card under each line, so the board looks like a set of choices. Chalk marker wipes off, so the board can be reused after the cards are spent.
Gift Card Aesthetics
Pick a palette before you pick materials. Two or three colors, one of them pulled from the brightest card, keep the arrangement from looking busy.
Texture is the quiet upgrade. Pair a smooth plastic card with something tactile like linen ribbon, kraft paper, felt, or a sprig of faux greenery, and the whole piece looks more considered.
Spacing matters as much as color.
Leave an even gap between cards, about the width of your thumb, and line up the edges. Crooked cards look careless even in a beautiful frame.
For an occasion, borrow its colors: soft pastels for a baby shower, deep jewel tones for a winter birthday. For a person, look at what they wear or what their kitchen looks like and match that.
Personalization Tips
Start with one detail only the recipient would catch: an inside joke, a favorite flower, or the name of the street where they first lived. One small detail beats five generic ones.
Photos work best when they are printed on matte paper, which avoids glare under glass. Trim them to leave a clean border, and keep faces away from the spot where a card will cover the image.
Handwriting does a lot of work. Even 3 lines saying why you chose each store will make the gift feel chosen rather than bought.
Match decorations to the person’s hobby.
A gardener gets seed packets and twine, a baker gets a wooden spoon tied on with ribbon. Keep the extras small so the card remains easy to find and spend.
Frequently Asked Questions
How to creatively gift a gift card?
Pair the card with something that gives it context.
A shallow shadow box holding the card plus a mug, tea bag, or pair of socks works well, and so does a chalkboard strung with twine where each card is clipped under a line, like a menu of choices.
Clips and removable adhesive let the recipient spend the cards without wrecking the display.
How to create a gift card image?
Arrange the cards first, then photograph the result. Limit the palette to 2 or 3 colors and borrow one from the brightest card; then space the cards about a thumb’s width apart and square up the edges.
A little texture helps here: linen ribbon, kraft paper, or a scrap of felt under the cards adds depth, and it also exposes any card that sits crooked, so straighten before you shoot.
Do pictures of gift cards work?
Yes, as a gift element. A printed photo gives a gift card a personal setting; a wedding portrait on a white card, with the names and date printed beside it, is the version I’d choose.
Print on matte paper to avoid glare under glass, and keep faces clear of the spot where a card will sit.
Can I get a picture of a gift card?
You can make your own. Set a gift card in a frame, on a twine pinboard, or in a matching envelope tied with ribbon, then photograph it.